

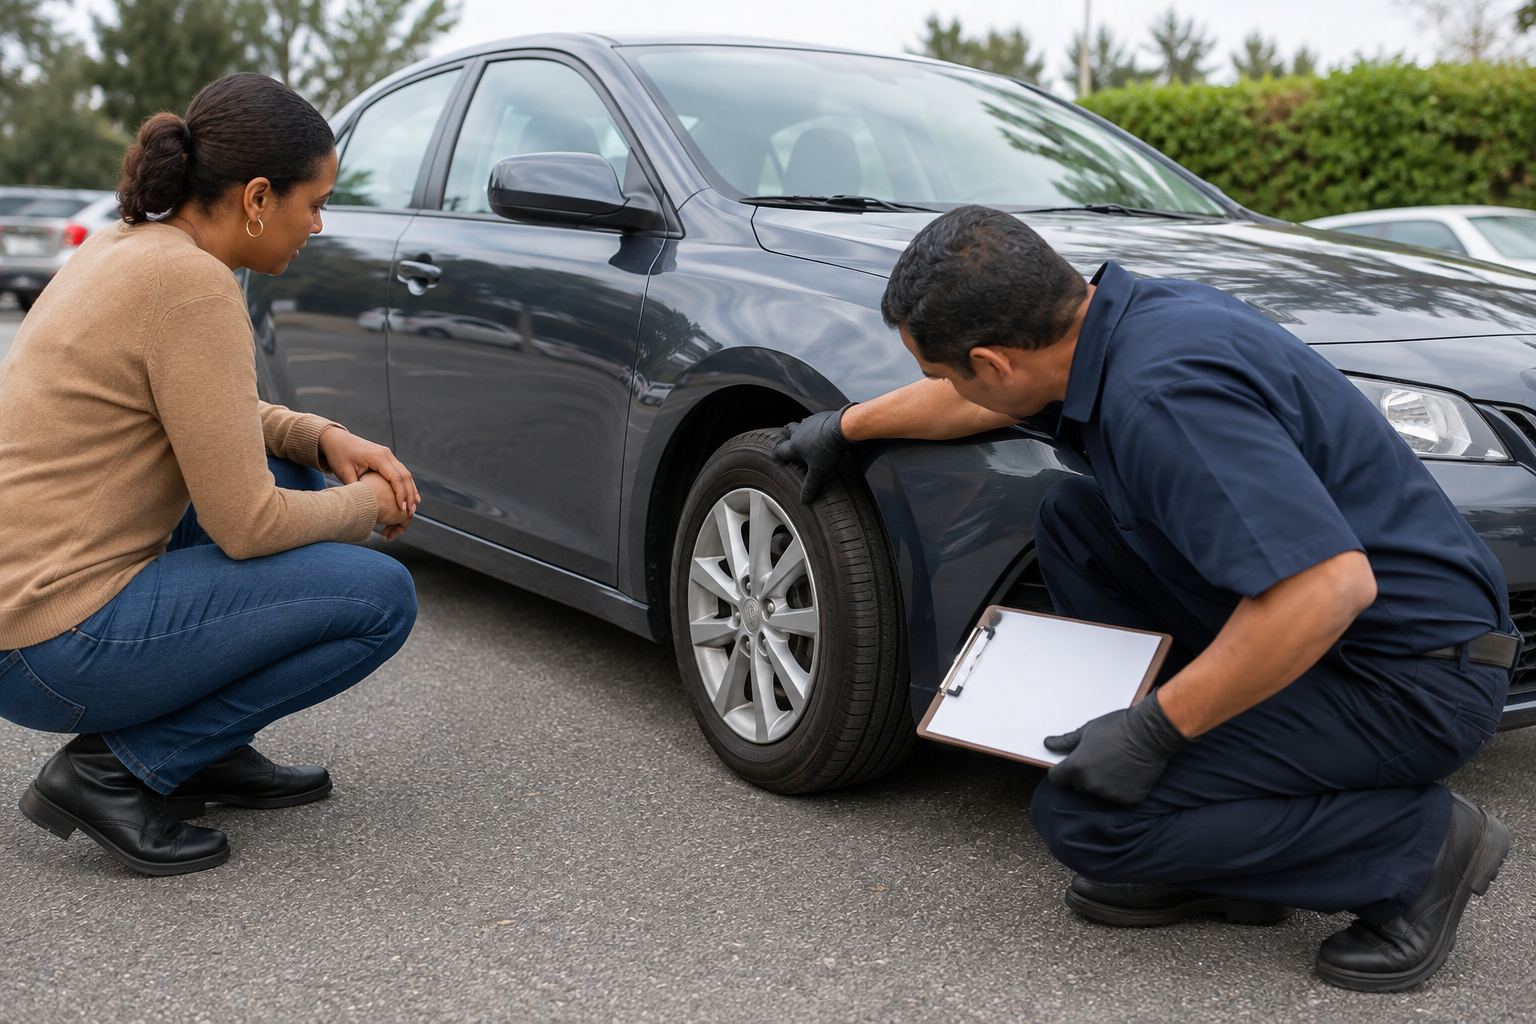
Buying a used car can make people focus on the wrong details. A shiny paint job, a clean interior, or a low odometer reading can all be reassuring without telling you much about how the car has been maintained. The useful information is usually less visible - it is in the VIN, the service records, and the behavior of the car during a thorough test drive.
This checklist covers the steps that matter most when evaluating a used vehicle, from the paperwork to the road test.
Step 1: Check the VIN for Open Recalls
Before anything else, run the vehicle's VIN through the NHTSA recall lookup and the manufacturer's recall tool. This reveals:
- Open recalls - safety campaigns that have not been completed on this vehicle.
- Completed recalls - evidence that prior safety work was performed.
- Service bulletins - manufacturer communications that may be relevant to the vehicle's condition.
Step 2: Review Maintenance and Service Records
Ask the seller for maintenance history, including:
- Oil changes and fluid services with dates and mileage.
- Brake, tire, and suspension work with invoices.
- Recall completion documentation showing the campaign was performed.
- Any manufacturer warranty work that was completed.
Step 3: Check the Title and Ownership History
Review the vehicle title for:
- Salvage, rebuilt, or flood branding - these indicate significant prior damage.
- Odometer disclosure - compare the title's stated mileage to the dashboard reading and any available service records.
- Number of previous owners - fewer owners can mean more consistent maintenance, though it is not a guarantee.
Step 4: Walk-Around Inspection
Perform a thorough visual inspection:
- Panel gaps - uneven gaps between body panels can indicate prior collision repair.
- Paint condition - mismatched paint, overspray, or blending differences suggest bodywork.
- Tire wear - uneven wear patterns can indicate alignment, suspension, or steering issues.
- Fluid leaks - look under the vehicle for oil, coolant, transmission fluid, or brake fluid drips.
- Warning lights - start the vehicle and confirm that all warning lights illuminate during the bulb check and then turn off. A light that stays on indicates an active fault.
- Under the hood - check fluid levels, look for corrosion on battery terminals, and inspect hoses and belts for visible wear.
Step 5: Test Drive
The test drive is one of the most revealing parts of the evaluation. Drive the vehicle at varying speeds and conditions:
- Cold start - note how the engine starts and idles before it reaches operating temperature.
- Acceleration - listen for hesitation, knocking, or unusual sounds during acceleration.
- Braking - test the brakes at moderate speeds. Feel for pulsation, pulling, or grinding.
- Steering - note whether the vehicle tracks straight and whether the steering feels responsive without play.
- Transmission shifts - automatic transmissions should shift smoothly at normal speeds. Manual transmissions should engage cleanly without grinding.
- Highway speeds - drive at highway speed to check for vibration, wind noise, or handling instability.
- Low-speed maneuvers - turn the vehicle at low speed to check for clicking, clunking, or binding in the steering or suspension.
Step 6: Review Documentation
Before finalizing the purchase:
- Review the title for accuracy and any disclosed prior damage.
- Compare the VIN on the title, dashboard, and door jamb to confirm they all match.
- Check for outstanding liens - ensure the seller has clear ownership.
- Verify the odometer disclosure matches the actual mileage.
When a Pre-Purchase Inspection Helps
For a purchase that matters to your budget, an independent pre-purchase inspection is one of the most useful steps you can take. A qualified technician can identify issues that are not visible during a walk-around or test drive, including:
- Hidden frame or structural damage.
- Suspension or steering wear that does not produce obvious symptoms.
- Electrical faults that do not trigger warning lights immediately.
- Fluid leaks that are not yet visible on the ground.
Related Articles
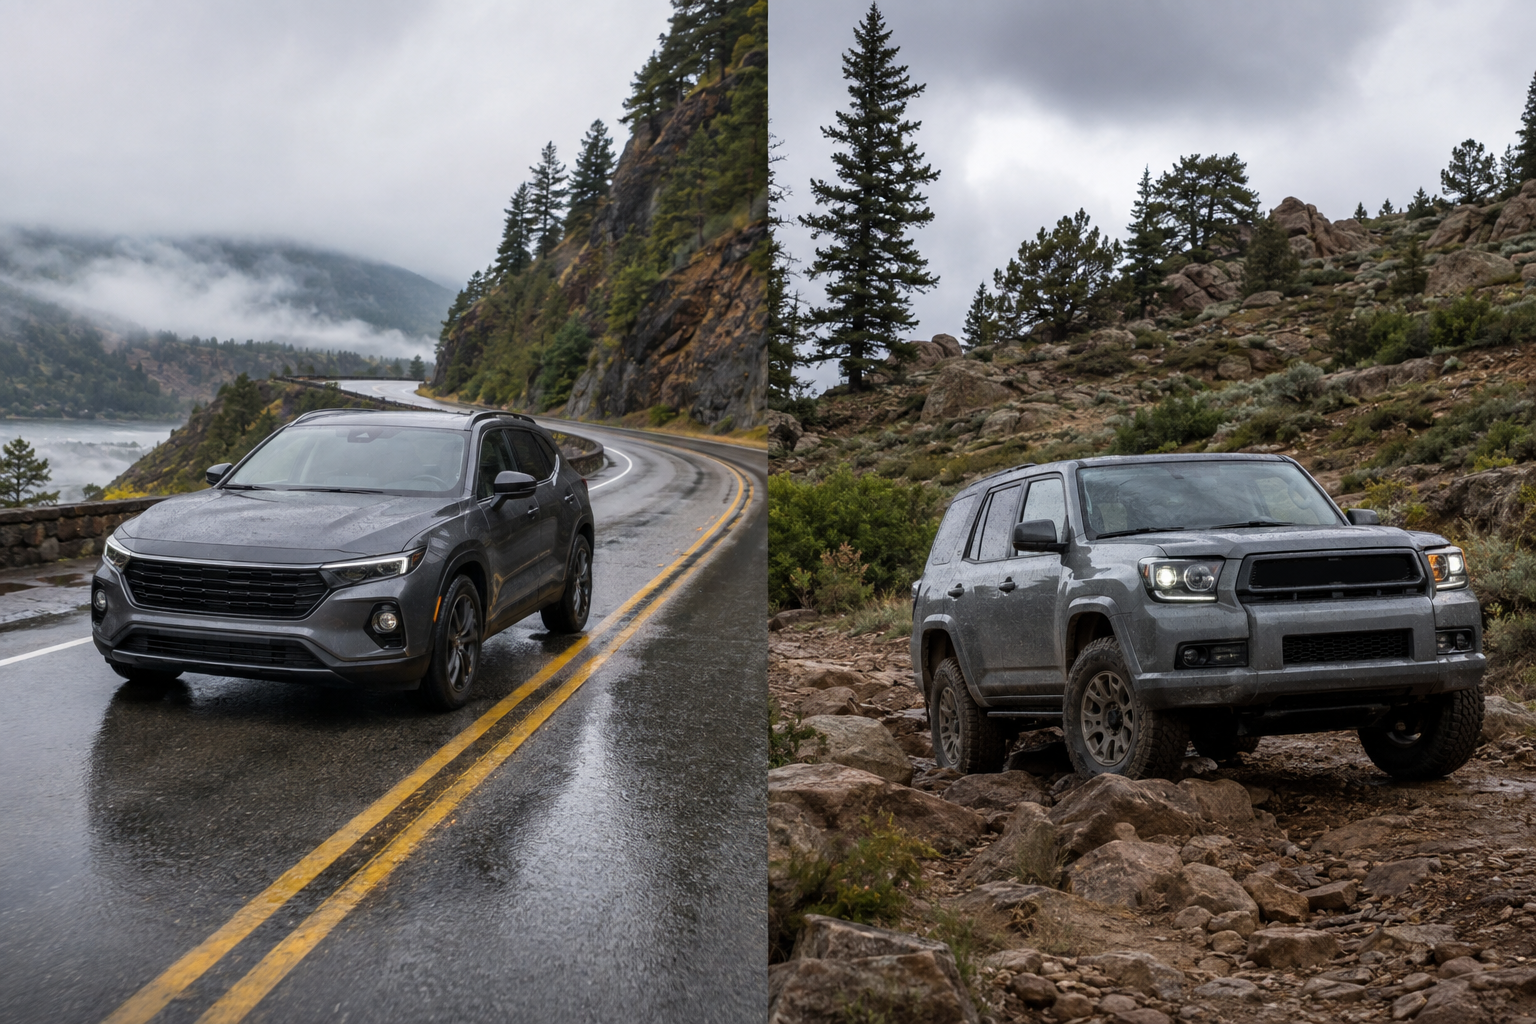
AWD vs. 4WD: What Is the Difference, and Which Do You Actually Need?
AWD vs. 4WD explained in plain language: how each system works, what each fits best, the real-world trade-offs, and why tires and driving habits matter more than the badge on the tailgate.

How to Check Your Car for Open Recalls Using Your VIN
A step-by-step guide to checking your VIN for open recalls, understanding the results, and keeping your recall records organized.
Recall vs. Service Bulletin vs. Warranty Extension: What Is the Difference?
Recalls, service bulletins, and warranty extensions sound similar but mean very different things at the service counter. Here is how to tell them apart and what each means for your car.